
In today’s mobile-first world, being visible on Apple Maps is just as important as showing up on Google Maps. With millions of iPhone, iPad, and Mac users relying on Apple Maps to find local businesses, having an accurate listing can increase your visibility, attract more customers, and boost your credibility. This guide will walk you through the steps to get your business listed on Apple Maps through Apple Business Connect.
Why Apple Maps Matters
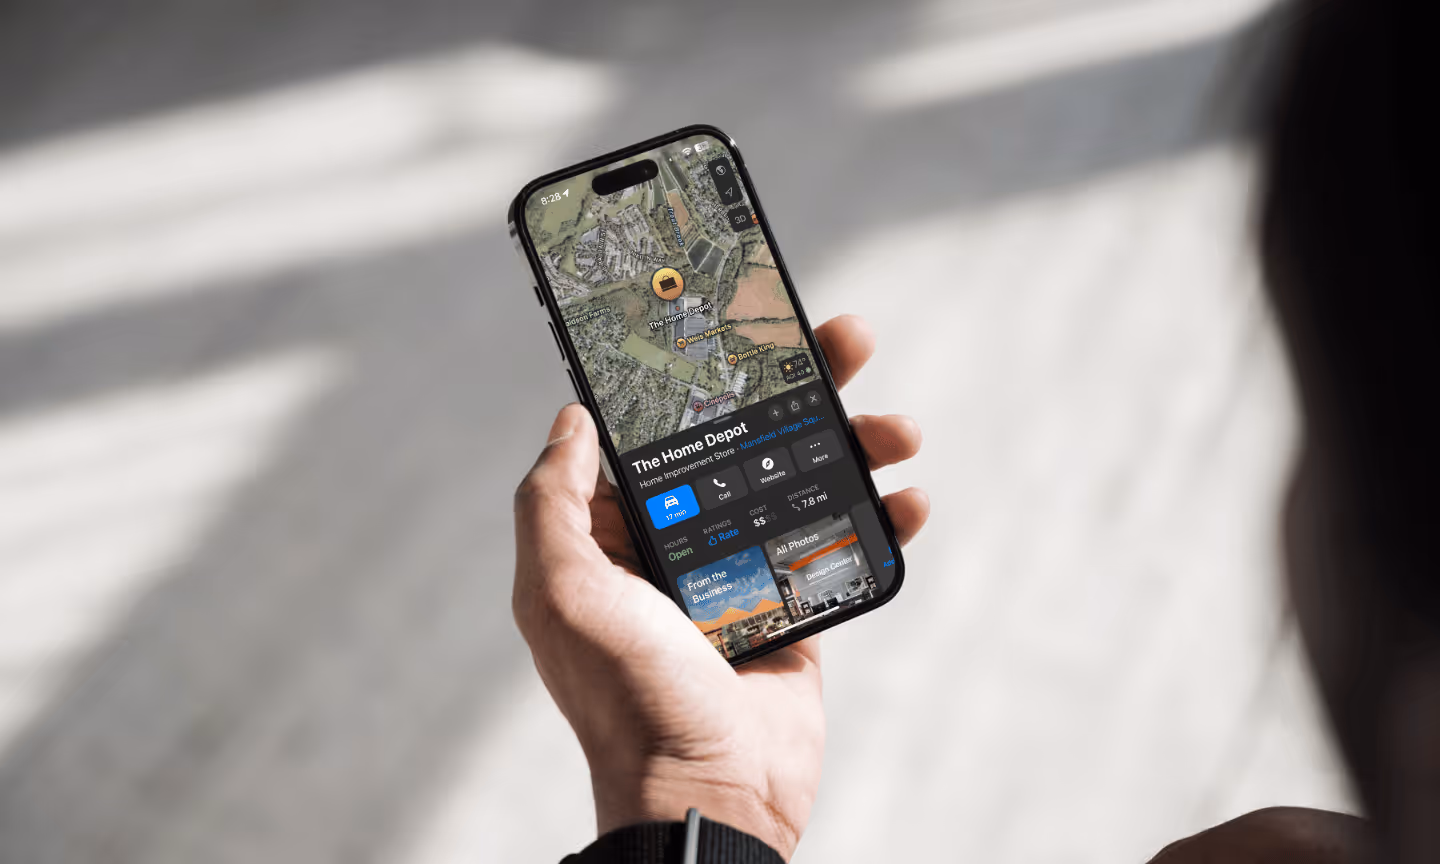
Apple Maps is the default navigation app for all Apple devices, and it’s deeply integrated with Siri, Messages, Safari, and other iOS apps. That means when someone searches for your business on an iPhone or asks Siri for directions, your Apple Maps listing is what they’ll see. Ensuring it’s accurate and complete can drive foot traffic, calls, and online visits.
Step 1: Sign In to Apple Business Connect
Apple Business Connect is the platform you’ll use to manage your Apple Maps listing.
- Go to Apple Business Connect.
- Sign in using your Apple ID. If you don’t have one, create a new Apple ID dedicated to your business.
Step 2: Search for Your Business
Before adding a new listing, check if your business is already on Apple Maps.
- Type your business name in the search bar.
- If it appears, you can claim it instead of creating a duplicate listing.
Step 3: Add or Claim Your Listing
If your business isn’t listed:
- Click “Add a new location”.
- Enter your business name, address, phone number, website, and primary category.
- If your business is listed:
- Select it and follow the on-screen instructions to claim ownership.
Step 4: Verify Your Business
Apple requires verification to confirm you’re the owner. You can verify by:
- Phone Call: Apple calls your business phone number with a code.
- Email: Sent to a verified business email address.
- Document Upload: Business license or utility bill matching your listing details.
Step 5: Complete Your Profile
Once verified, add as much detail as possible:
- Business Hours: Keep them accurate for customer trust.
- Photos & Logo: High-quality images make your listing stand out.
- About Section: Short, engaging description of your products or services.
- Special Features: Payment types accepted, accessibility features, etc.
Step 6: Keep It Updated
Your Apple Maps listing is only as good as the information it contains.
- Update hours for holidays or special events.
- Replace outdated photos with fresh content.
- Respond to reviews and questions when possible.
Conclusion
Adding your business to Apple Maps is a simple but powerful way to increase visibility and attract more customers — especially those using iPhones and other Apple devices. By keeping your listing accurate, complete, and visually appealing, you can make it easier for customers to find and connect with you. If you need help setting up or optimizing your Apple Maps presence, IseMedia can guide you through every step to ensure your business stands out in local search.